Kubernetes on OVHcloud (OVH)
OVHcloud is a leader in the hosted private cloud services space in Europe.
They offer a managed Kubernetes service as well as a managed private registry for Docker images.
This page describes how to create a Kubernetes cluster using the OVH Control Panel,
and how to access the cluster using the command line with kubectl.
Log in to the OVH Control Panel.
Note
You first need to create an OVH account if you don’t have one already.
Click on the Public Cloud tab in the navigation bar.

If you don’t have an OVH Stack, you can create one by clicking on the following button:

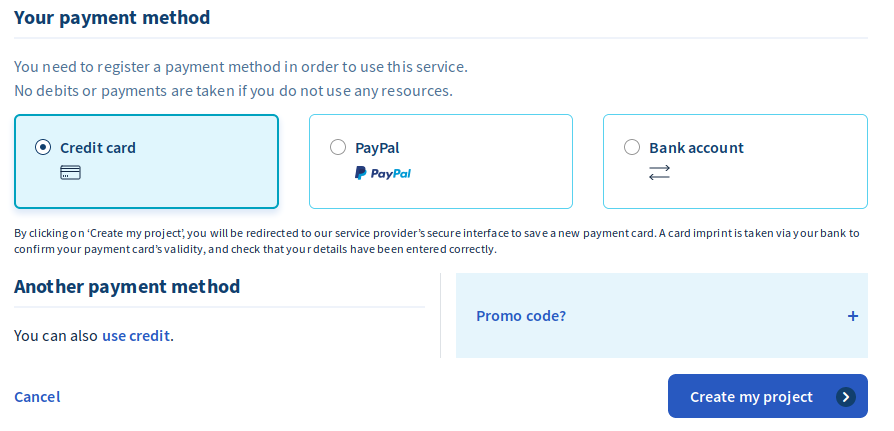
Select a name for the project
If you don’t have a payment method yet, select one and click on “Create my project”:
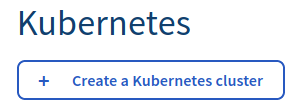
Using the Public Cloud interface, click on Managed Kubernetes Service and then Create a Kubernetes cluster:
Select a Location, 1.15 as the Kubernetes version and a name for the cluster:
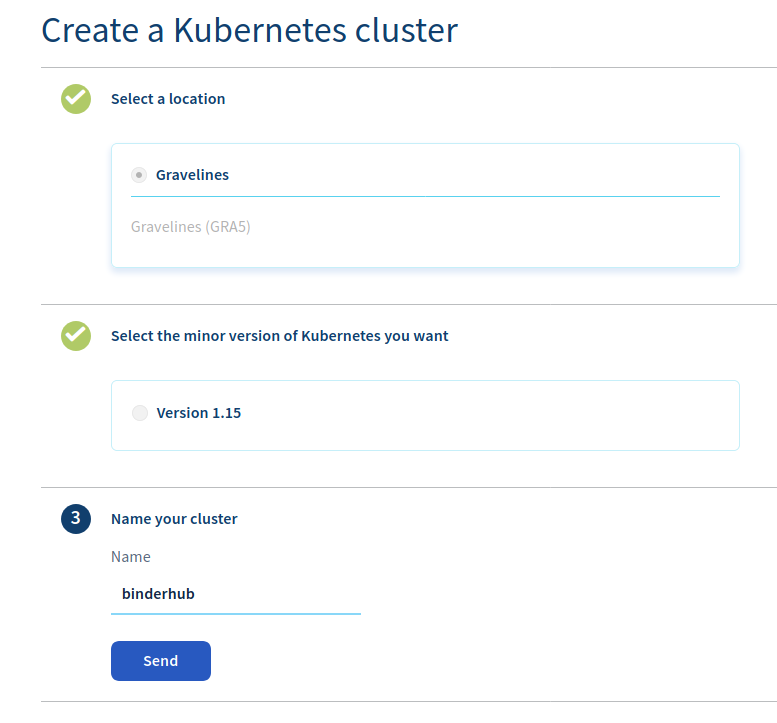
Click on Send
Once the cluster is ready, click on Nodes to add 2 nodes:
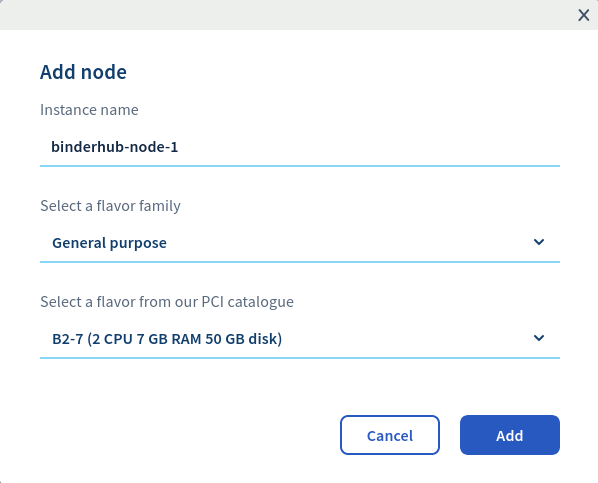
You can start with the b2-7 flavor, or choosing a different flavor based on your requirements.
Download the
kubeconfigfile and store it under~/.kube/configon your machine.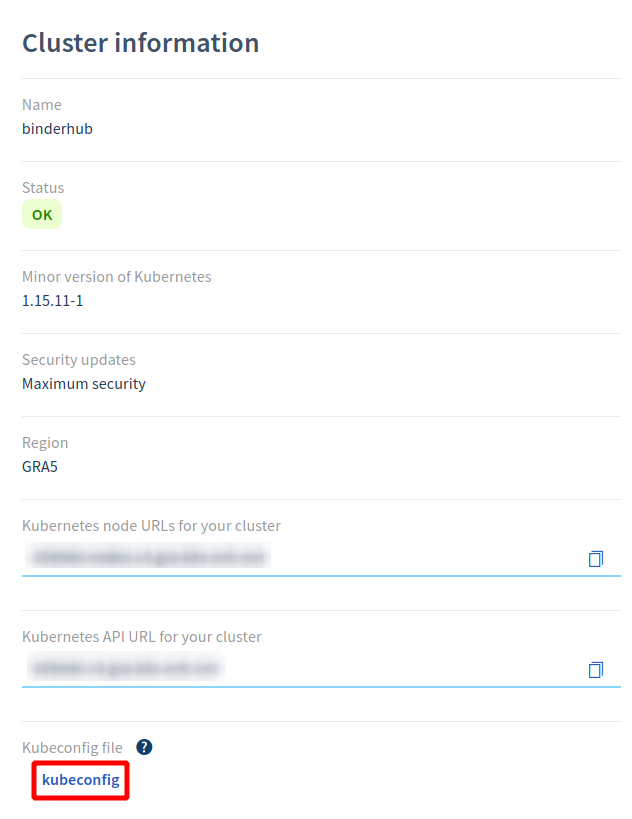
To test if your cluster is initialized, run:
kubectl get node
The response should list two running nodes (or however many nodes you set with
--num-nodesabove).Note
Check out the [Kubernetes Documentation](https://kubernetes.io/docs/tasks/tools/ install-kubectl) to install
kubectl.
Congrats! Now that you have your Kubernetes cluster running, it’s time to begin Setting up Helm.